

How To Retouch Skin In Gimp
Getting Around in GIMP - Skin Retouching (Wavelet Decompose)

I have looked around quite a bit for a practiced method in GIMP to smooth skin for portrait work. I did find a few tutorials, simply they all were mainly concerned with using Gaussian mistiness with a layer mask to "smoothen" the skin. The results were almost always less than satisfactory.
(For more examples of this technique at work, take a look at my contempo shoot with Mairi! or The Open up Source Portrait (Postprocessing))
Then I establish the Wavelet Decompose plugin, and the search was by and large over for me.

I thought information technology might be helpful to walk through the theory equally I approach information technology for pare retouching/smoothing, and how Wavelet Decompose fits into my workflow.
The chief point that I take noticed is that what most people hateful by "smooth" pare actually means, "smoothen" tones. See, real skin has pores, wrinkles, blemishes, etc. In fact, information technology's those pores and wrinkles that add "graphic symbol" to skin. The lack of these features in skin will instantly cause an image to look unrealistic to most eyes.

I am very much of the opinion that any modification to skin tones exist equally transparent as possible - ie: they should not be obvious or immediately noticeable. I personally effort to exist as natural looking equally I can (to my middle at least). Of form, this is a highly subjective affair, and i mans natural is another mans mannequin.
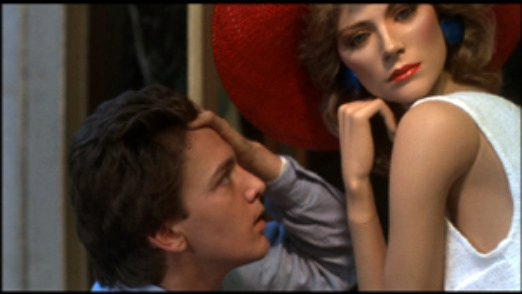
Another mans mannequin.
That is the trouble with trying to utilise a gaussian mistiness on the base image to "smooth" the skin. You lose a ton of detail and end up with a smeared looking mess. All in an attempt to either polish the tones of the skin, or to minimize the appearance of pores/wrinkles. Many times, both to some degree. If only in that location was some way to exist able to modify the tones of the skin separately from the pores and wrinkles (and separate over again from blemishes or freckles).
Oh, that's right, I mentioned Wavelet Decompose before!
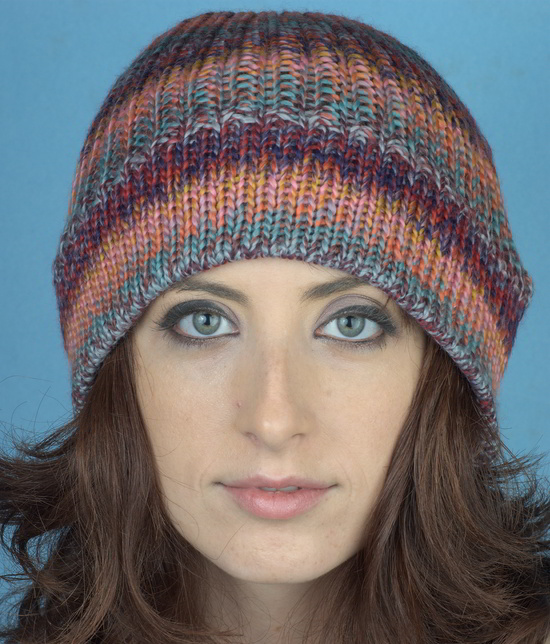
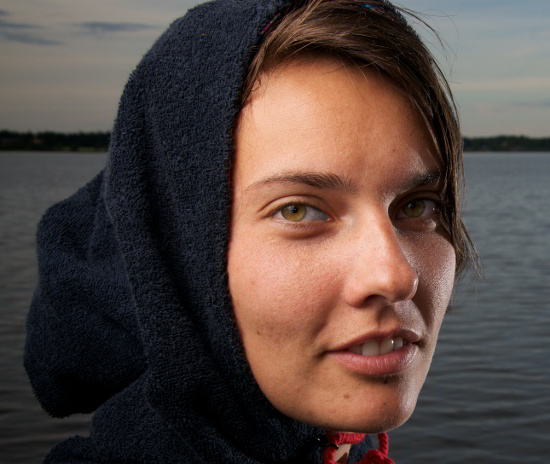
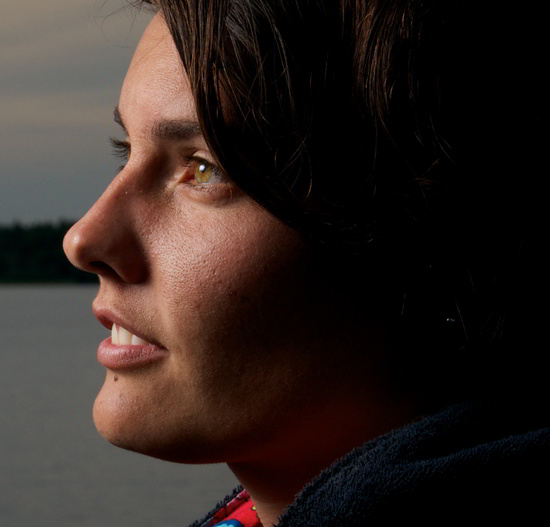
If you want to practise some of the things I volition exist talking about, Flickr user Erik Olsson has licensed both Hoodie and Martina as CC-Past-SA-NC. I'd recommend going to grab one of those images (because really, who doesn't like looking at pretty Swedish girls?). The beginning image was graciously provided by Kelly Ealy for demonstration here, and was offered on this Model Mayhem practice thread.
Wavelet Decompose
What the WD filter plugin volition do is to divide your layer into multiples layers with different sized details on each ane and a terminal residual layer with all the residue of the data. Each of these layers is set to recombine using the Grain merge layer mode, pregnant that each layer is added to the previous one to build back up to the final paradigm. This means that we can suppress data at a certain scale level to continue it from contributing to our final reconstructed image.
This is basically frequency separation on your image.
If y'all're non sure what that means, information technology might assist to see it in action. We'll use a 100% crop from Martina in a higher place:
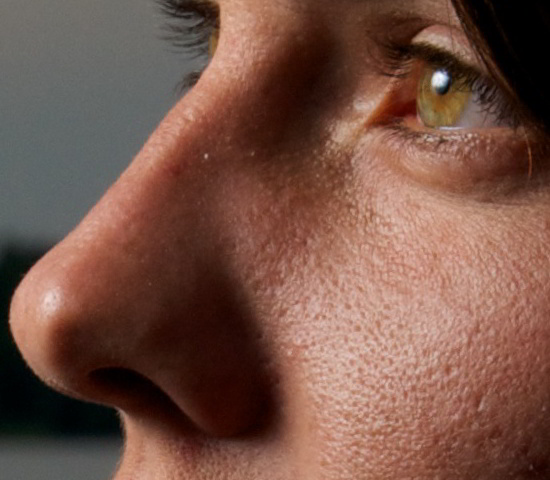
The base layer 100% crop.
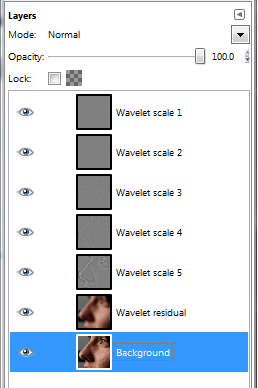
Now, running Wavelet Decompose on the layer and leaving the default options the way they are, we get 6 new layers: Wavelet Calibration 1-5 and a Wavelet Residual layer. Let's accept a expect at each layer to see what we get:

Wavelet Remainder
This residual layer is what is left over after all of the detail scale layers have been removed. Notice that it represents the global contrast and colors in the image.

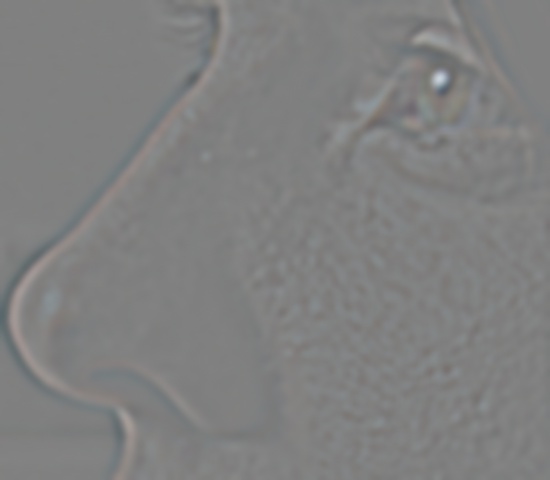
Wavelet scale 5
Wavelet calibration five is the largest details layer in this example. From here on each of the subsequent calibration levels downward to 1 will only incorporate finer and finer details from the image on their ain. Look advisedly at her skin on her cheek here. You'll observe that individual pores don't actually bear witness up on this scale, but the overall pare tones prove up more. If the peel is "blotchy" or uneven in tone, it will testify up very noticeably on this scale. I have found often that this scale level will often impact the overall perception of smooth skin tones more than any other, and it is usually here that I will start my editing.
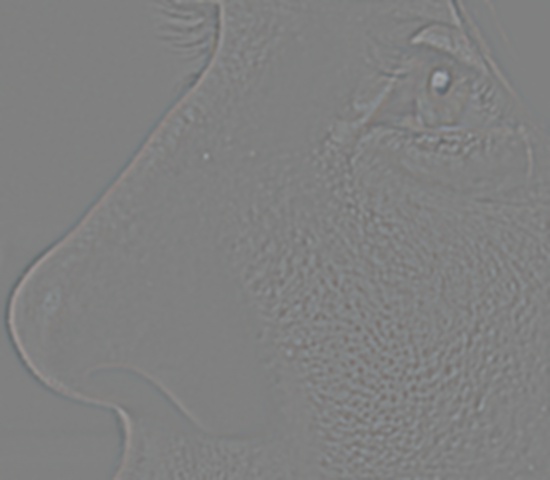
Wavelet scale four
Wavelet calibration four shows some more overall skin tones and texture with only a hint of the pores coming through. Between this scale level and calibration 5 is where I do nigh of my work. Rarely practise I need to change any of the lower scales unless I am targeting specific blemishes.
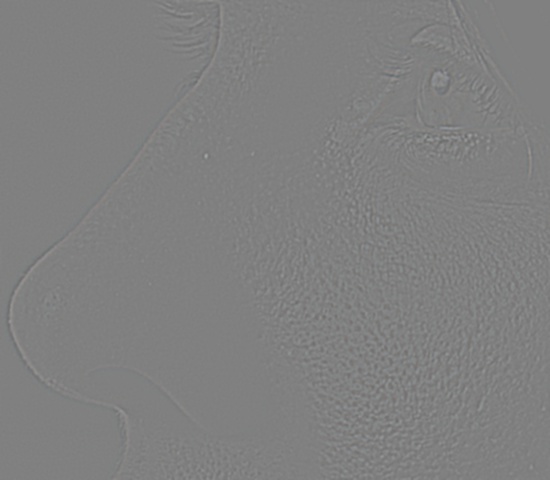
Wavelet calibration 3
Pores are beginning to really get obvious now at this scale. This would be the largest pores in her face, and this scale is the correspondent for the largest size.
Wavelet scale 2
The mid-size of the pores are very clear at this scale. Effectively features like wrinkles will as well show up clearly on this layer.

Wavelet scale one
It may be hard to see, but the finest details reside here. These are the smallest scale contributors to the pores and fine lines. Stray hairs volition sometimes individually evidence up here also. (You tin can make out her eyelashes very nicely in this scale level for instance).
What you want to recall is that each of the scale layers is ready to Grain merge layer manner, meaning each layer will intensify with the layer below it, all building up down to the wavelet residual (which is in Normal blending mode). I mention this because if y'all wanted to remove features from one of the scale levels y'all can easily just ready your foreground colour to medium grayness RGB(128,128,128), and anywhere yous paint on a scale level volition remove those details.
If you try this on your ain, a skilful way to empathise what is happening is to plow off all the layers in your image, then plow on each of the scale layers starting from the smallest (Wavelet scale 1), one at a time. This way you will exist able to see what the contribution of each layer is to the terminal consequence.
Retouching pare (in do)
Then, how can we apply this information to help united states of america retouch our images? Well, there are a couple of things to keep in mind before getting started…
The number of scales you use will be dependent on your image dimension size, and the relative size of features in it. I don't have any rules to help you make up one's mind this, but increasing the number of scales will requite you a larger number of smaller frequency separations to piece of work with. If yous're but starting out I recommend staying with the default of five scales until you are comfy with this technique.
I personally attempt to employ every bit lite a paw equally possible , to avoid destroying too much detail in the skin. A good rule of thumb is, if it looks right to you, and so it's also much - make information technology more subtle.
So, using the Martina image from above, I will open up the image in GIMP, and run:
Filters → Generic → Wavelet decompose…
Leaving all of the defaults will leave me with 5 wavelet scales and a residuum.
Remember you can use Shift-click on a layers visibility to isolate merely that layer to view.
I will frequently exercise this with the residual and scale v layer to get a feel for what types of objects lie in those frequencies visually.
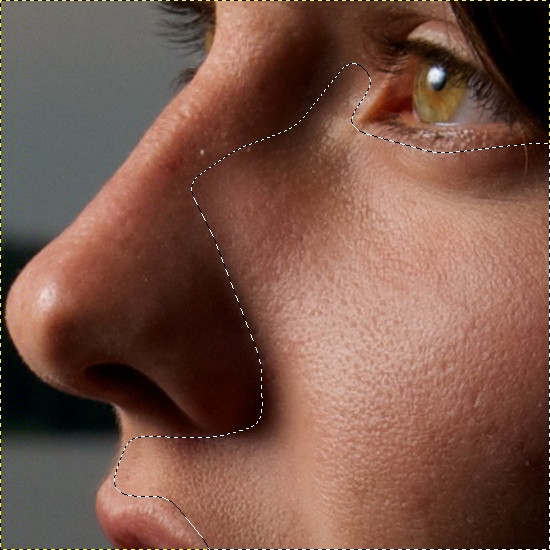
At present I will leave all the layers visible, and volition begin using the Gratuitous Select Tool to begin selecting a portion of the face that I want to conform. I will usually effort to go on similar-sized features together, and volition also try to follow the contours of the face and light. One time selected, I will also feather the selection by a skillful sized radius (effectually 30px radius in this example).

Once I have a region selected, I will then activate the highest Wavelet scale I take (5 in this case), and will try applying a gaussian blur to that layer. Choice of a blur radius is arbitrary, only I'll usually endeavor to mistiness enough to smooth out the tones on this layer, only not to completely obliterate them. I finally chose 33px in this example. Go on in mind that subsequent scales volition also be blurred, and the effect is condiment to the final prototype.

Now with the same selection nonetheless, I will actuate the next Wavelet scale layer downwardly (four for me), and will employ another Gaussian mistiness hither besides. I mostly tend to aim for approximately one/ii - 1/4 of the previous mistiness radius. I finally decided on a 13px radius hither.

The affair to notice when working on these largest scales outset is that the underlying tones of the skin volition begin evening out. If in that location is blotchiness, liver spots, sun harm, etc. those features tin exist softened or removed without affecting smaller features like pores as much. If this were me, I would end here and begin pixel-level dodging and called-for to clean upwardly other things to my liking.
Merely, since we are learning, let'southward continue going and endeavour blurring features on Wavelet scale 3 to see the event.
Gaussian Mistiness, 6px radius on Wavelet scale 3.
If we used an even bigger radius on Wavelet scale iii, the effects get a little jarring:

Gaussian Blur, 16px radius on Wavelet scale 3.
This is what I hateful when I say a light bear upon is really best. The 16px blur on Wavelet scale iii blew us correct by nice, neutral retouching into mannequin territory (and I don't want to have to link some other mannequin image).
What'south nice about using Wavelet Decompose is that on each of the scale layers, a neutral grayness (128, 128, 128) color will suppress that feature at that scale level (effectively removing it). This means that you tin grab a brush with gray, and selectively paint over blemishes or features that you desire to suppress. Instead of using a blur, I could take used a brush with greyness, and painted on her peel at each level with varying opacity to suppress those features.
This gives you pixel-level command of features directly with a unproblematic brush, and the fact that the layers recombine with Grain merge layer modes ways that you tin see the results of what you are doing immediately on the paradigm.
Once I am happy with a region of pare, I will then select a new region to begin working on, and volition follow the aforementioned steps outlined above to get a upshot that I like. I like to break up a face into different areas based on the calorie-free and skin features. For case, I will usually work on cheeks and just beneath the eyes separately from the nose, mentum, and forehead. It'due south really a personal preference rather than a dominion, though.
Remember to zoom out and go a await/feel for the result from afar - sometimes yous can become likewise zoomed into a region and not realize what is going on.
I've included the .xcf file with my pick withal active from the examples to a higher place. Information technology already has the gaussian blurs on scale 4 and 5 done (but not 3).
Download the GIMP .xcf.bz2 file of the example (2MB).
(Just save it and open information technology straight with GIMP)
Hopefully this has been helpful to some of yous out there. With a footling perseverance we can eliminate the use of globular gaussian blurs over entire images as a technique for mangling skin. This is a very powerful method of image manipulation and does take other uses as well - did anyone notice that Wavelet scale 1 is a actually nice high-laissez passer layer for your image? Bet you could employ it for some dainty sharpening if you wanted! ;)
Experimentation is key here! Don't exist agape to endeavour things out!
Questions or feedback? Let'southward hither almost it in the comments.
Source: https://patdavid.net/2011/12/getting-around-in-gimp-skin-retouching/
Posted by: fletcheraciectur1965.blogspot.com
0 Response to "How To Retouch Skin In Gimp"
Post a Comment